Getting Started with QuakeNotch
Install QuakeNotch and get it running in just a few minutes.
Installation Methods
Choose your preferred installation method
1. Download and Install
- Step 1: Download QuakeNotch.dmg
- Step 2: Double-click and move QuakeNotch.app to your Mac's Applications folder
2. Homebrew (For Power Users)
If you have Homebrew installed, run:
brew install --cask quakenotchDon't have Homebrew? Visit brew.sh to install it first.

System Requirements
Make sure your Mac meets these requirements
- macOS Version: macOS 14 Sonoma or later
- Hardware: Any Mac that supports macOS 14 Sonoma
- RAM: 8 GB of RAM

First Launch & Permissions
Grant necessary permissions for full functionality
Permission Prompts to Expect
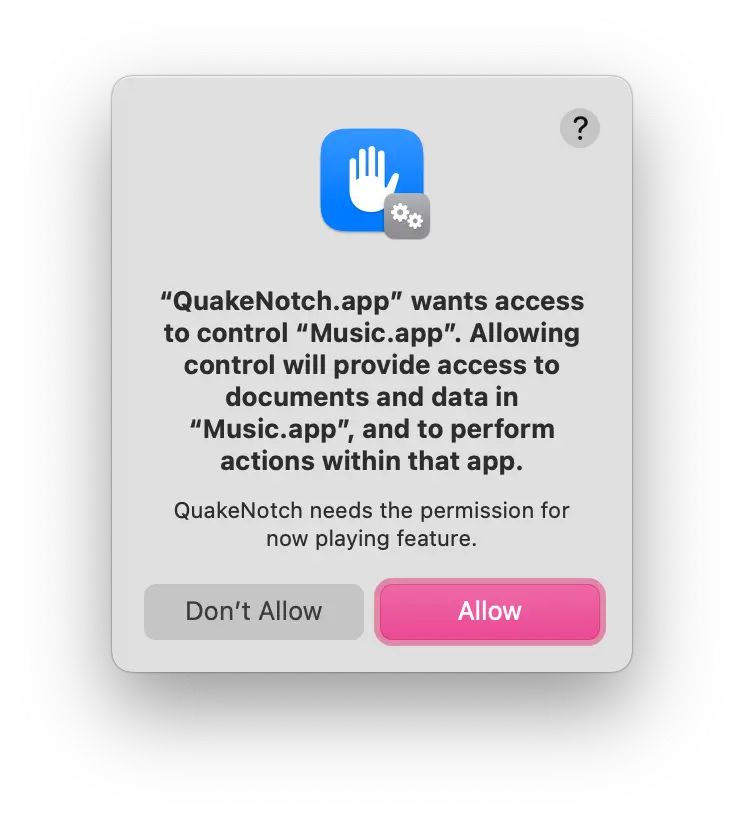
Automation (Music.app)
Required for Apple Music integration features. You can choose "Don't Allow" if you don't use music features. You can disable Apple Music Integration on QuakeNotch settings.
How to grant permissions: Open System Settings → Security & Privacy → Click the lock 🔒 and grant QuakeNotch access.
Initial Configuration
Set up QuakeNotch for your workflow
First Time Setup Checklist
Keyboard shortcut tip: The default activation shortcut is Control + Escape, but you can customize it in Settings under "Keyboard & Shortcuts".
Installation Troubleshooting
Solutions for common installation issues
"App is damaged and can't be opened"
Solution: Right-click the app → Open → Confirm the warning dialog
Homebrew installation fails
Try: brew update then brew install --cask quakenotch again
Still having issues? Join the Discord community for help!